What’s the Gameboy???#
uhhh, only the world’s most famous and innovative handheld consoles of all time. It came out in 1989, sold over 120 million units worldwide, and led to the release of some of the most loved games in the world.
I have spent a large amount of my childhood playing Pokemon on Gameboy Advance emulators, and when the opportunity arose I decided I wanted to make my own Gameboy Emulator. I’m going to go over some of the engineering behind the original Gameboy and my progress with building one!
 |  |
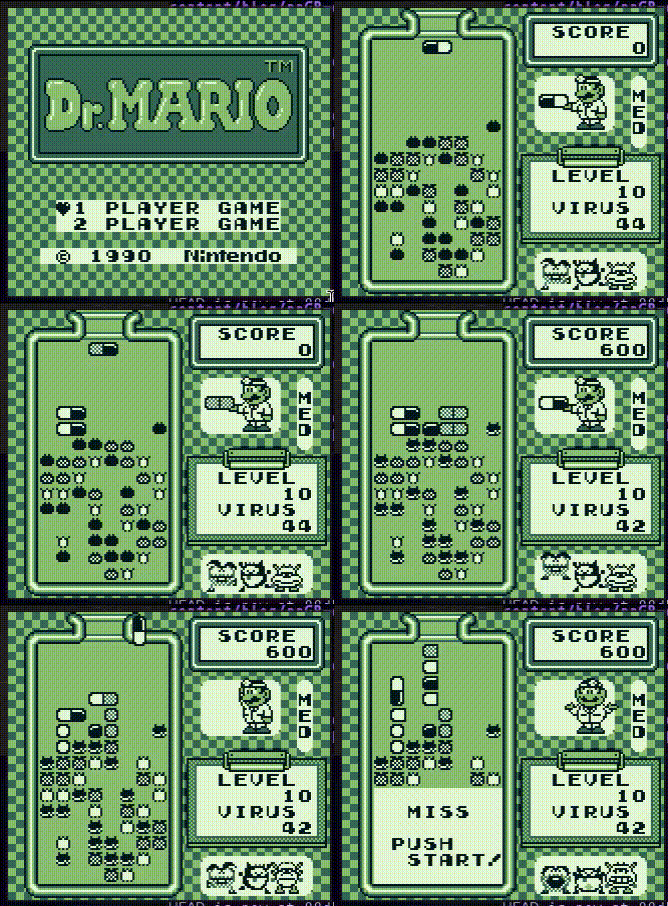 | 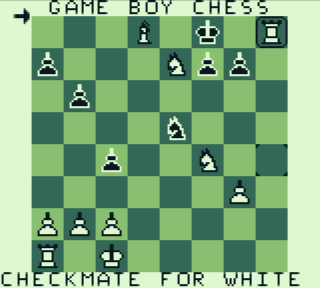 |
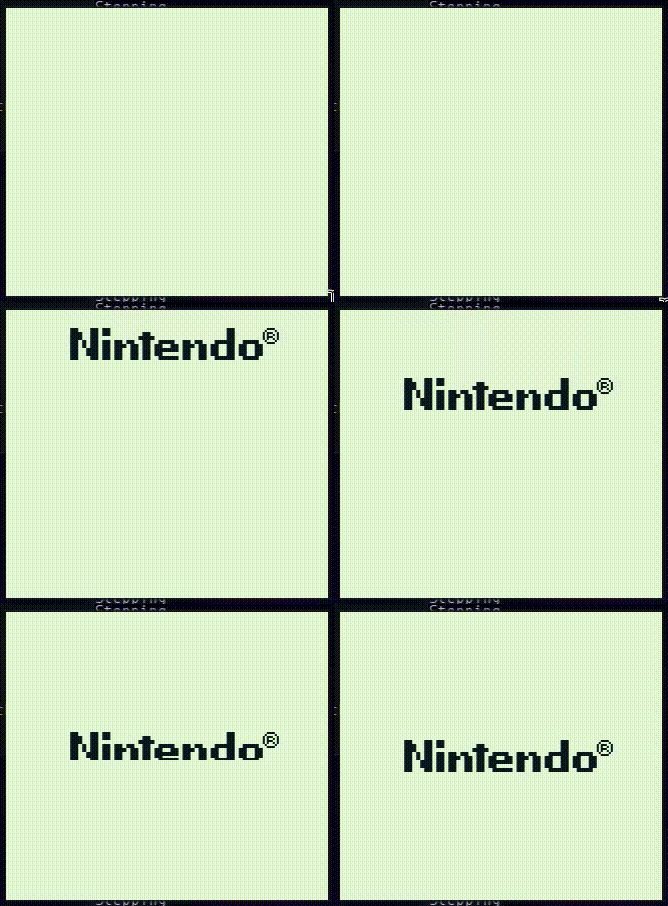
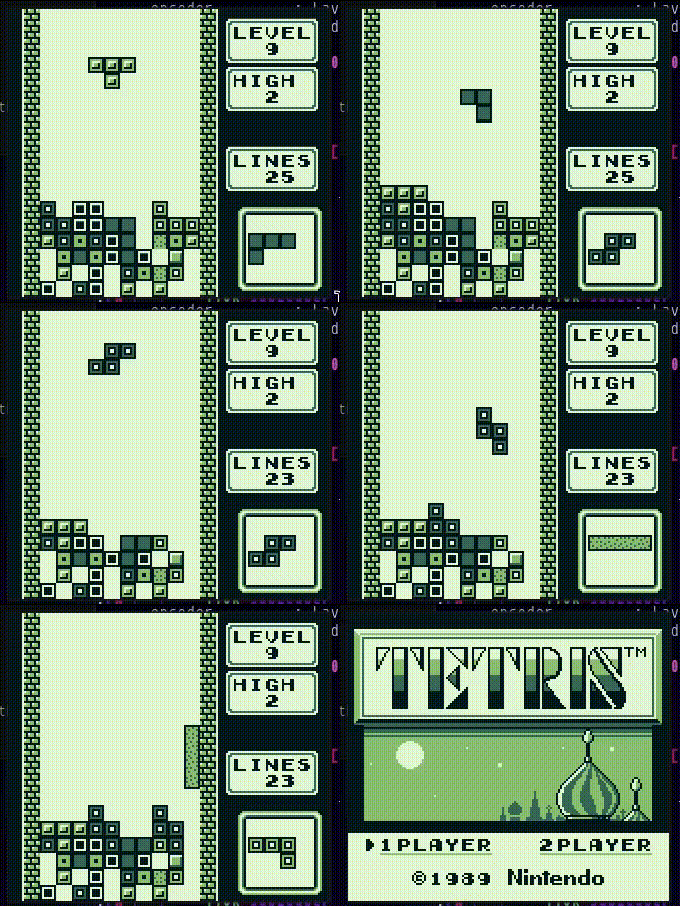
If you want to try out any of the games above feel free to checkout my emulator. Any feedback is welcome (stars are appreciated)
The Components#
The Gameboy, like most machines, has
- Memory (MMU)
- Graphics (PPU)
- and a CPU
and a shit-ton more moving parts that I shall mention when required. Every aspect of this computer is so purposefully engineered and absolutely crammed with functionality with the sole purpose of making consoles portable, efficient, and cheap
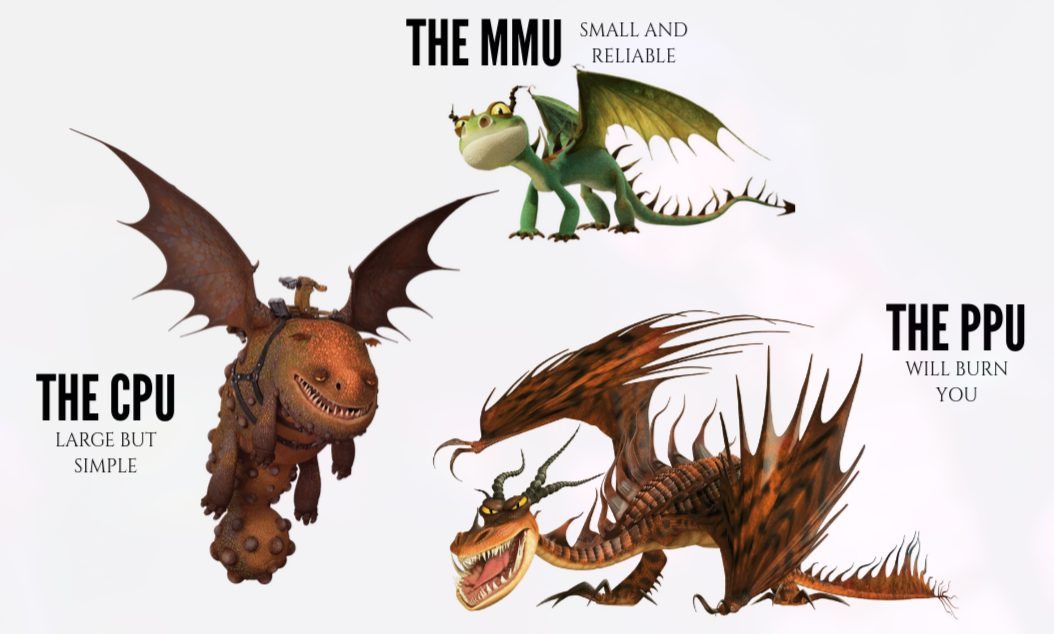
The CPU is an 8-bit chip similar to the 8080 cpu from back in the day (i don’t know what that means). It’s a CISC machine which means it trades simplicity in favour of supporting as many instructions as it can. This reduces the amount of assembly the programmer has to write because as we will see, memory is also limited. It’s like using mandarin to save on tokens.
The Gameboy has a 16-bit memory bus, which means it supports upto 64KB of addresses. The first 32KB are allocated for ROM catridges or actual game code (with support for expansion that I haven’t implemented yet). It also has 8KB of Video RAM, 8KB of Working RAM, and more memory mapped regions such as for Input/Output registers, Sprite Data, etc. The Memory Management Unit (MMU) handles all operations on this address bus.
But oh boy are graphics a different story. The Pixel Processing Unit (PPU) is so wildly complicated. And from what I understand, it’s not even the worst thing in this console (that would be audio). Graphics operations have two separate parts. The Pixel Fetcher, which is a queue that constantly fetches tile data, blends it, and makes it ready to render. And the PPU which renders the screen line by line, pushes pixels, and interrupts at various locations to give the game developer a lot of control over the display and gameplay
We’re going to see what its like to emulate these different components (mainly the cpu and ppu though, my mmu needs some more work)
The CPU#
The CPU has 8 8-bit registers, that can be combined two-at-a-time to form 16 bit words. They’re named A, B, C, D, E, F, H, L. Besides these there’s ofcourse the program counter (PC) and the stack pointer (SP)
Anonymous structs and unions make this really simple!
| |
Due to the CISC nature of the CPU, the Gameboy supports a lot of instructions. 501 of them. Fortunately for us most of them are very repetitive and not that hard. This is usually where most people begin working on their emulator.
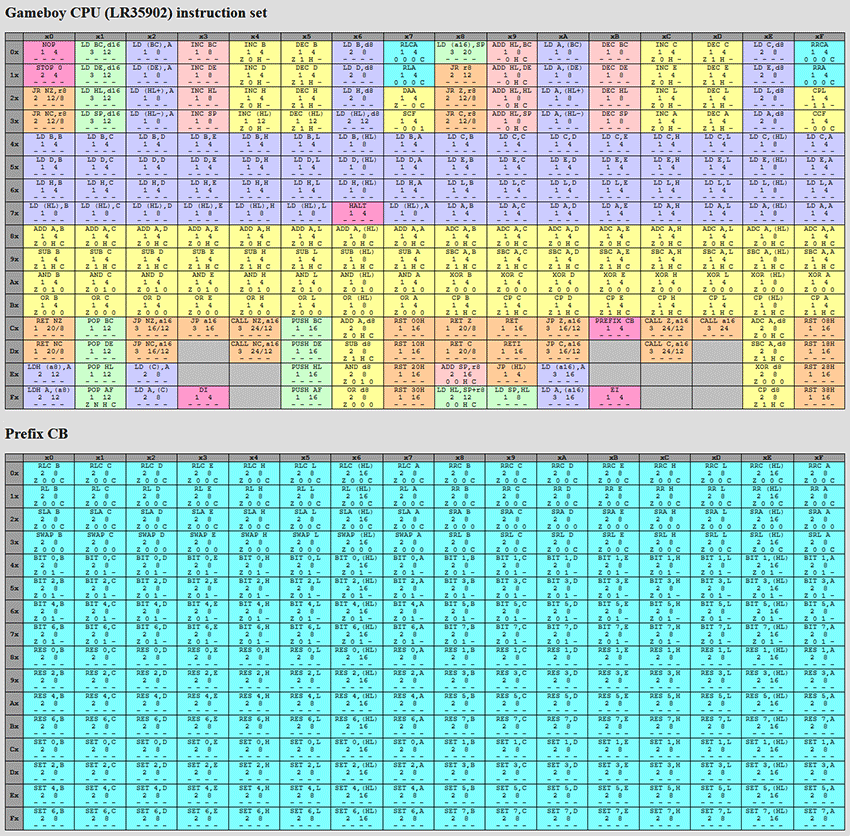
If you look closely you will notice a lot of those instructions just do the same thing but on different registers. This leads to a large but fairly simple CPU! Vim macros are quite helpful!
People (me) often structure their CPU as a large switch-case, here’s what mine looks like
| |
Once you do implement your CPU though, you’re going to want to test it. You need to ensure your CPU works perfectly, that you understand the reference correctly, and that a failing CPU won’t come back to bite you in the ass later. There are some really good resources to test your CPU!
The Single Step Tests for the SM83 are designed in such a way that
- You load an initial state
- Step your CPU (execute the current instruction)
- compare with a final state
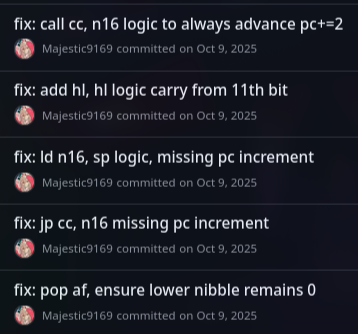
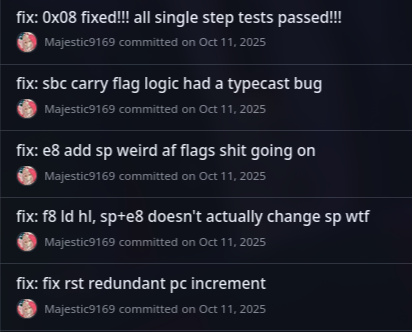
They helped me find a bunch of small bugs, like missing pc increments and accidentally reading bytes instead of words, but a major highlight was the 0xf8 instruction
0xF8: LD HL, SP+e8#
From the docs:
Add the signed value e8 to SP and copy the result in HL.
I believed this meant that
sp += e8
hl = sp
when apparently its just
hl = sp+e8Always test your code people. Also, passing over 6 million assertions feels quite nice actually. In fact it feels so nice I made it a Github Action so I can feel the same satisfaction every time I push a new commit
❯ ./build.sh -t
build: building
[100%] Built target ppGB-emu
[100%] Built target tests
RNG seed: 3534735329
===============================================================================
All tests passed (6190205 assertions in 31 test cases)
But I Can’t See Anything#
Of course we aren’t just satisfied with a working CPU! We need to see our games to play them! It’s going to need a LOT more work though.
I’m going to try and briefly explain how it works. The PPU renders line-by-line, pixel-by-pixel.
A line is 160 pixels wide, and there are 144 lines.

To provide maximum control to the game developer, the PPU has 4 operation states.
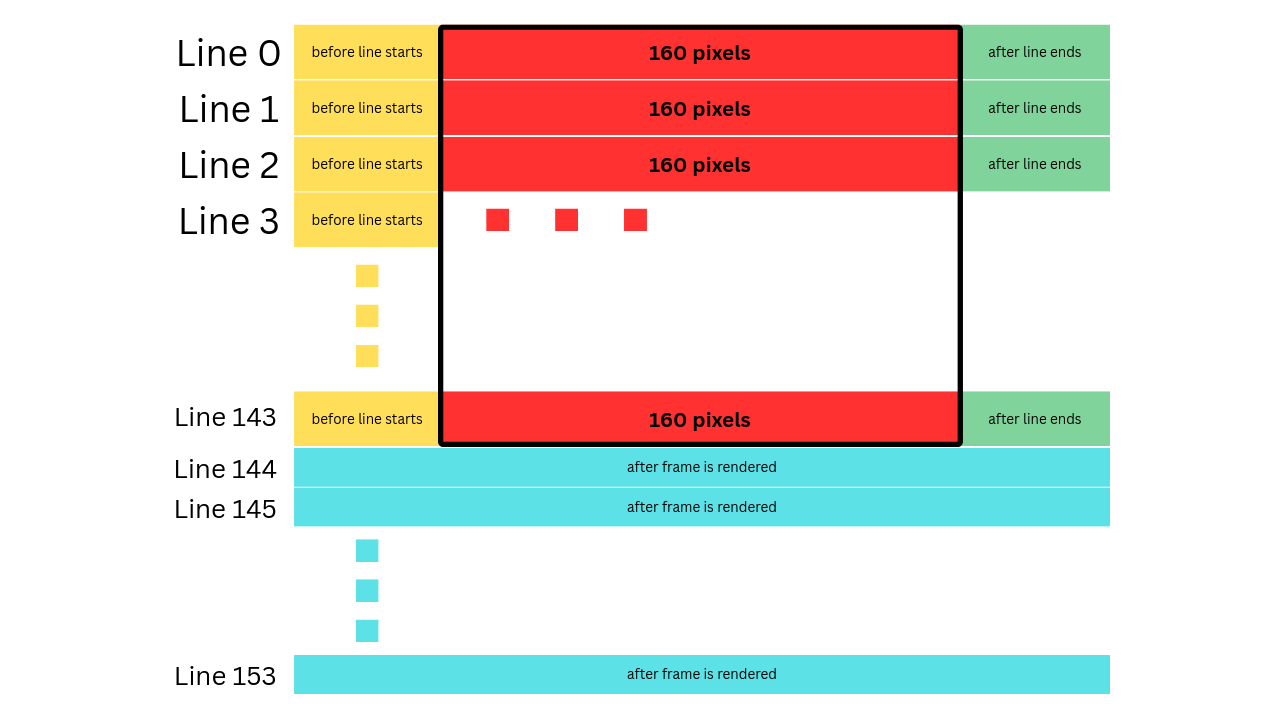
The 4 colors above are the 4 different states, and the large rectangular box around the red region is where actual pixels are being rendered to the display.
- Mode 0 HBLANK: after a line of 160 pixels has been rendered, before it moves on to the next line we enter the HBLANK state in case the ROM wants to make any changes before the next line starts. Seen as green above.
- Mode 1 VBLANK: similar thing, but after an entire frame of 144 scanlines has been rendered. Seen as blue above.
- Mode 2 OAM SCAN: this is the period before a line is rendered when the PPU identifies the sprites to be rendered on this line. Seen as yellow above.
- Mode 3 PIXEL TRANSFER: this is where pixels are fetched from the FIFO and actually rendered to the screen. Seen as red above
Once you understand that, you need to actually fetch the pixel data to push it to the screen. The Gameboy uses a “Pixel Fetcher FIFO” for this. This FIFO fetches tile data from the appropriate regions, mixes it with sprite tile data if required, and pushes it to the queue for the PPU. Here’s what a tile looks like.
Graphic data is stored as “tiles” in the VRAM. The Gameboy only had 4 colors and was essentially monochrome, so to represent any pixel, they only needed 2 bits. This is called the Gameboy 2bpp format. In contrast today your standard png image needs 32 bits to represent a single pixel.
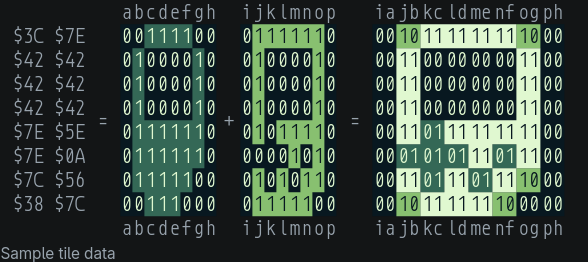
Here’s another example of a single tile of Mario’s face from the game Dr. Mario
7F 7F 49 41 5C 54 5C 54 7F 40 FF 83 FF 87 7F 7F
Check out what it looks like rendered on this helpful tool here
The Pixel FIFO is another 4 state FSM that we’re not going to get into. I recommend skipping it and going straight for a framebuffer. You will be adding years to your life, trust me.
We’re now going to need to test our PPU/FIFO and look at those beautiful, retro feeling graphics! Here are some that I used.
 | 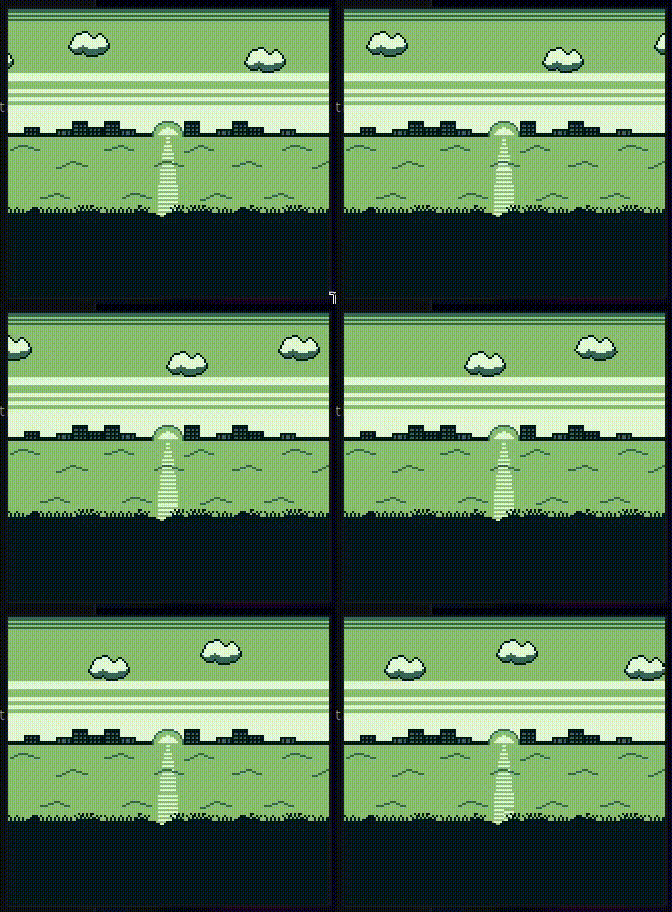 |  |
- Hello World: simple background rendering and nothing else. Great to check that you do have something
- Fairylake: just a great test of scrolling, window layers, sprites, palettes etc. Her repo also has a bunch of other great tests for the PPU along with a fantastic guide on the PPU and other components. Some of the diagrams here are from there.
- DMG-ACID2: This is the test to pass if you want to have a working PPU. If you look closely I am actually failing it slightly, that mole on the face should not be visible (and the eyebrows are cut in half). But meh.
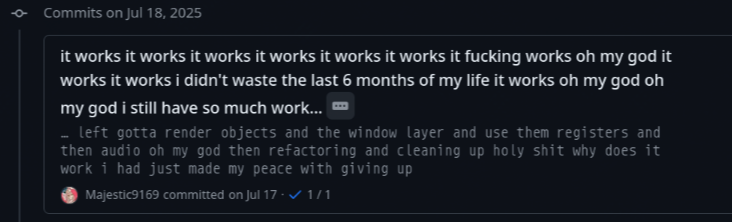
Look at this commit message from the first time I managed to get the hello-world ROM to display
The Emulation Loop#
Congratulations! We have working machine instructions and working graphics! That’s it right?? Let’s play games now!
Sure! But we need to put these components together. Remember, we’re emulating hardware through software. On the hardware there was a separate CPU chip, a separate PPU chip, separate memory banks, and everything ran smoothly together at the same time all connected by their various wires and buses.
We don’t have that. So we need to emulate it.
A first instinct might be to just have a while(1) loop that executes an instruction, updates the PPU, and renders the screen. Something like this
| |
This is a bad idea, and the reason has to do specifically with the ppu.Update() method. This sort of structure means that I am writing to my display multiple times per pixel. That is a lot of writing. I ran a benchmark on this sort of structure and it turned out my actual emulator was only operating for 13% of the time. The remaining time went to the SDL polling for keypresses and screen updates. This was so bad for performance that it ran at like 10fps. Terribly slow.
Human beings are very good at filling in the gaps, which means that there’s no need to constantly write to the screen because we’re going to miss the details anyway.
Instead we update just once a frame! I think this is called a sawtooth kind of structure, where we run the CPU and PPU for a whole frame. Then update the display once per frame. Here’s what that looks like.
| |
This MASSIVELY boosts performance and gets our framerate back to the required 60fps. A perf benchmark showed that the emulator itself runs for 55% of the time! 5x increase!!
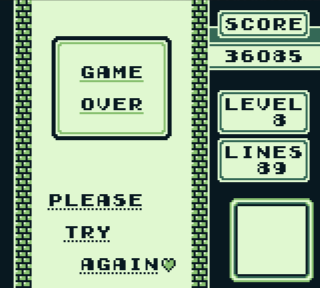
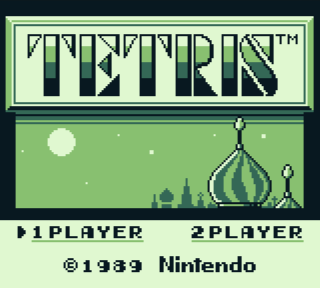
The actual emulation loop is slightly more complex since we also handle joypad input, interrupts, timer updates, and some debugging helpers. But yes. Games are now playable. Here’s my score on tetris, lemme know if you beat it.
The Development Process#
I want to go over my experience building this. It’s been over a year of working off-and-on with multiple rewrites and so much refactoring, and I want to look back on it. (It was really only about 2 months of sustained work though (plus another 2 months for the first version))
How It Started#
We had a course that required a large project. I had originally proposed 3 ideas to our professor
- a bittorrent client
- a gameboy emulator
- a text editor (a friend of mine later chose this for his project)
He recommended the emulator and that settled it. (I think there were “legality” concerns over the bittorrent client, but like, I’m pretty sure making a Gameboy emulator is actually illegal, whereas bittorrent is a completely legal and open-source protocol).
I read a lot of blogs from other people who made their own emulators, and spent around two months working on this. However I knew basically nothing about C++, computer architecture, or the Gameboy.
With my limited understanding of everything I managed to setup some sort of structure, implemented a buggy CPU, tried to implement graphics, wrote some unit tests, added a CI/CD pipeline for no reason (i think it was required for the course), couldn’t figure out if the graphics issue was because of my code, my ui library, or my display protocol.
Overall it was a horrible attempt and I regret everything about it. I managed to show something for the evaluation but I wasn’t happy with it. You can have a look at my pathetic first attempt here. (though during the evaluation the prof mentioned he was a Zelda fan, which is quite cool)
I then spent the summer and a lot of free weekends on rewriting it from scratch whenever I could, and now, an year later, I can play tetris!
 |  |
What I Would Change#
Making a large project following a large specification leads to making and changing a lot of design choices. You originally say the input/output registers are just normal bytes, but then later you find out you need to maintain special properties on them. The interrupts need to be positive-edge triggered, so now you need to store the previous value of the interrupt flag, etc, etc.
Something that helps with making good choices is looking at other people’s emulator source code and understanding it. This was something I didn’t do much earlier, I would just read their blogs or writeups and say, okay, I’m going to add this now. And it would immediately come back to bite me. Reading source code helps you make better design choices.
Getting feedback and testing at all steps is also essential. I was writing unit tests as I went along, but I was the one writing them, so all I ensured was they did what I wanted them to do, not that what they were doing was correct. There are a lot of testing materials available for the Gameboy and I should have made use of them sooner. Just look at how many bugs I found when I checked against the sm83 tests.
 |  |
Another thing that really helped me get feedback was joining the EmuDev Discord Server, the people there are really helpful, massively experienced, and very smart. It was also where I found actually good resources that weren’t just build-your-own-x blogs. Also a lot of the Gameboy docs are written from the perspective of a game developer and not an emulator developer, so getting more perspectives from actual people is helpful.
And finally I recommend going slow. Working one weekend at a time has ensured I understand what I’m implementing instead of going *monkey type fast* and being results oriented. This led to me making fewer mistakes, getting less frustrated, and learning more deeply about the Gameboy itself. (i say that but i have crashed out SO MUCH over the ppu and fifo)
What’s Next?#
ppGB is still not ready by any means. It’s in very alpha stages and is missing a couple of important features, along with who knows how many timing issues (The Gameboy has been reverse engineered for the last 20 years and people still haven’t discovered all the timing oddities contained in it)
Further plans would be implementing those features, namely
- The Timer, it’s used for randomisation in some games
- Memory Bank Controllers that would let me finally play games larger than 32KB. Once I get pokemon running on this I am going to be insufferable.
There is also the need to refactor and clean a lot of the code, and I really want to use more modern C++ as I learn about it.
| |
I use std::span to point to tile data in the main memory area, this gave me a 1.625x performance speedup over my previous Tile Class that used raw vectors
I have some ideas for what I want to do with memory bank controllers, and I’m itching to use some smart pointers. Let’s see :)
It is has been an absolute pain in the ass pleasure working on my emulator and thank you for reading this! Feel free to leave feedback with the “reply by email” button below
Acknowledgements#
- Cinoop: stole CPU timings and the anonymous struct idea
- MagenBoy: Helped with the FIFO a little
- Lazy Stripes: Palette Stuff. Very detailed in general
- Ashiepaws: the best explanation on the PPU out there imo. There was a period where getting ‘Fairylake’ to run was my life’s mission
- Ultimate Gameboy Talk: I use the pixel blending idea mentioned here rather than separate background and object queues like I should
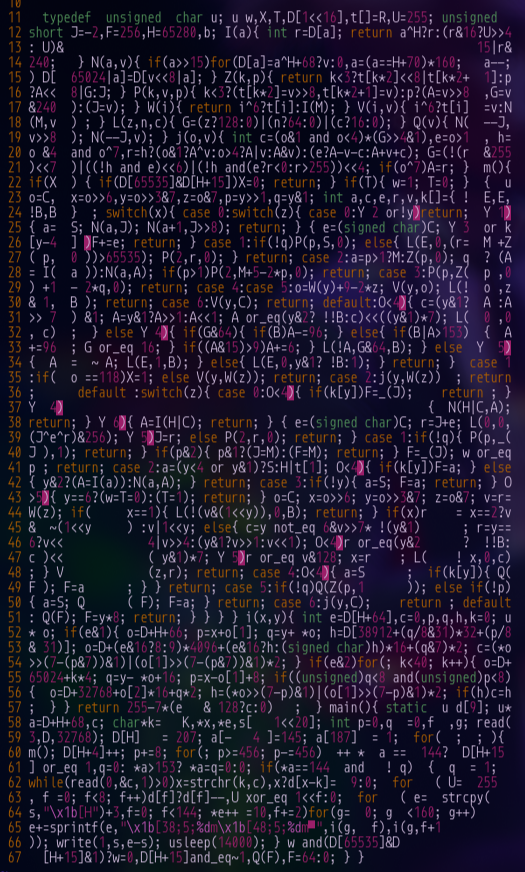
P.S. Look at this winning entry from the International Obfuscated C Code Challenge this year. The author made a “Tetris Optimised” minimal Gameboy Emulator. Read the author’s comments here